MacOS unable to access shares on windows server.
Mac OS Can't Access Windows Server share except only by an Administrator account.
Try this fix you will never find anywhere else. It's further down in this post but these are some preliminary things you may have checked already. If not, they may be related to the issue as well.
When attempting to access shares on a Windows server from an Apple MacOS device such as a desktop, users might encounter issues that can stem from various compatibility and configuration settings.
A prevalent cause is related to the Server Message Block (SMB) protocol versions, namely SMB1 and SMB2, which are essential for facilitating file sharing over a local network. MacOS and Windows use SMB for network file sharing, but discrepancies in SMB version support or configurations can lead to access problems. Specifically, if the Windows server is an older server OS version and configured to use SMB1, which is outdated and less secure, newer versions of MacOS may struggle to connect due to their preference for the more secure SMB2 or later protocols.
To check which versions are enabled on the server open PowerShell prompt on the server and execute the following command. The output will display, among other things, SMB version enabled on the server.
Get-SmbServerConfiguration
If you have already addressed and established SMB1 and SMB2 are enabled on the server read on.
This connectivity issue is further complicated when trying to access shares as a standard user versus an administrator. An administrator account might have additional privileges that can bypass certain network restrictions or have the necessary rights to change SMB protocol settings, whereas a standard user account may lack these permissions.
Users should also verify that their accounts have the appropriate permissions to access the desired shares on the local network.
If you have already established that the user account, you are trying to access the share with from the mac HAS access to the share then continue. You can view the permission in various ways on the server. One method is open Computer manger and view the permissions properties of the shares "Shares".
It's crucial for network administrators to ensure that both MacOS and Windows server settings are aligned, favoring SMB2 or higher for security and compatibility reasons. Adjusting these settings requires administrator-level access to both the MacOS system and the Windows server, to tweak the network configurations accordingly.
Alternate Solution - Fix Windows Share Access from a Mac
Here is the trick that I used just today to get two mac desktops to access windows server shares. You won't find this solution anywhere else.
After determining the administrator account accessed without an issue, it was evident the protocols, network, DNS, and several other factors for accessing the share were working properly. Plus, the standard user account was able to access other server's shares (different servers on the same network). It was this one particular windows server that the standard user, any standard user account, from the mac had an issue.
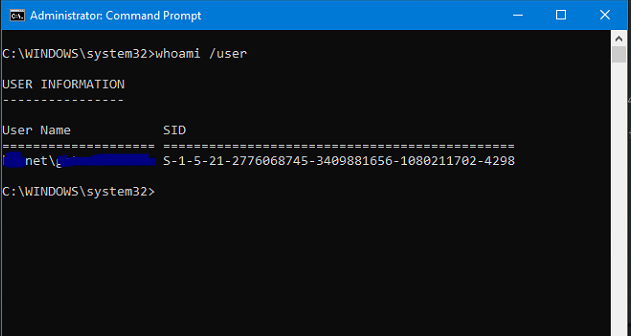
The giveaway for this situation was that in the server's log were entries for failed logins indicating a NULL SID for the user account. The name displayed correctly however (sorry, I had to blur the name to protect the innocent).

Try this to fix windows share access from a mac using a standard windows account. On the server open a command prompt and run the command RUNAS like this to start notepad.exe on the server in the user's context.

Once run, try accessing the server and shares again from the macs.
Please share this post if it worked for you too.